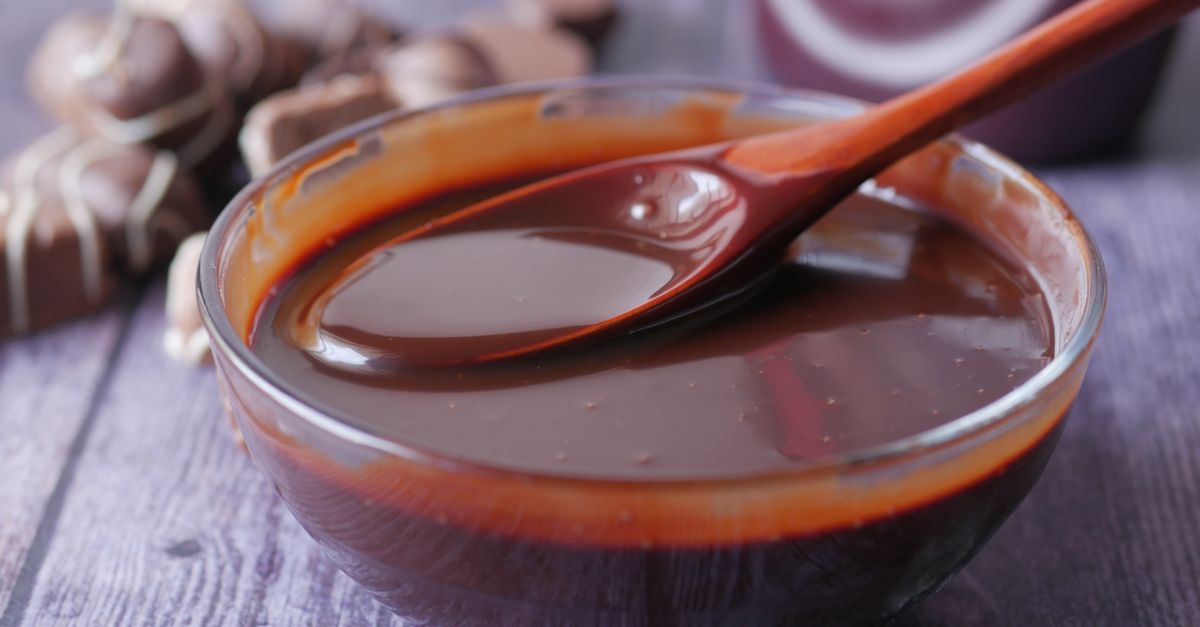
Why Your Homemade Sauces Are Too Thin and Lackluster (And The Pro Secrets for Rich, Velvety Perfection Every Time)
Are your homemade sauces consistently falling flat? Do you meticulously follow recipes, only to end up with a watery, bland liquid that barely clings to your pasta or protein? You’re not alone. I’ve been there, staring into a saucepan, wondering why my marinara looked more like tomato soup, or my pan sauce resembled dishwater. It’s frustrating when you put in the effort, but the result lacks that restaurant-quality richness and depth. Many home cooks assume it’s about adding more cream or reducing it for ages, but the truth is, the most common culprits are often overlooked, fundamental steps. What changed everything for me wasn’t a fancy ingredient, but a deeper understanding of how flavors build and textures develop.
Key Takeaways
- Avoid starting with cold pans and ensure ingredients are at room temperature for optimal browning and flavor development.
- Layering aromatics and cooking them slowly to a deep golden-brown creates foundational umami and sweetness.
- Embrace reduction as a primary thickening and flavor-concentrating technique, separate from emulsification.
- Understand the subtle art of fat and acid balance to build a cohesive, richly flavored sauce that clings perfectly.
The Cold Pan Catastrophe: Why Patience is the First Ingredient
The mistake I see most often, and one I made for years, is rushing the initial sauté. You throw a cold pan on the burner, add oil, then immediately toss in your onions, garlic, or meat. This is the cold pan catastrophe. When ingredients hit a cold or lukewarm pan, they steam rather than sear. Instead of developing those beautiful, flavorful browned bits (fond) that are the soul of a rich sauce, you get limp, watery vegetables or grey, sad meat. This immediately compromises the depth of flavor you’re trying to build.
What actually works is simple: preheat your pan correctly. Place your empty saucepan or skillet over medium-high heat for 2-3 minutes. Test the temperature by flicking a few drops of water into the pan; if they sizzle and evaporate immediately, it’s ready. Then, add your fat (oil or butter). Wait for the oil to shimmer or the butter to foam and subside before adding your aromatics or protein. This ensures instant searing, creating that crucial fond. In my experience, taking this extra 3-5 minutes at the beginning makes a monumental difference in the final sauce’s richness and complexity. It’s the difference between a sauce that tastes bright and one that tastes truly deep.
Additionally, ensure your protein or vegetables aren’t straight from the fridge. Room temperature ingredients cook more evenly and brown better. Cold ingredients drop the pan temperature too quickly, again leading to steaming instead of searing. A little planning goes a long way here; pull out your proteins and key vegetables 15-30 minutes before you plan to cook them.
Under-Developing Aromatics: The Hidden Flavor Thief
Beyond the cold pan, another critical oversight is the underdeveloped aromatic base. Most recipes say, ‘sauté onions until translucent.’ While that’s a good starting point, it’s rarely enough for a truly flavorful sauce. Translucent onions contribute moisture and a mild sweetness, but they don’t bring the profound depth of flavor that caramelized onions do. This applies equally to garlic, shallots, and other foundational vegetables like carrots and celery. If your sauce tastes flat or thin, it’s often because you haven’t given your aromatics enough time and heat to truly transform.
To achieve rich, velvety sauces, you need to cook your aromatics slowly and deeply. This means using medium-low to medium heat for a longer duration – 10 to 15 minutes for onions, sometimes even 20-30 minutes if you’re aiming for a dark, jammy consistency for something like a Bolognese. You’re looking for a deep golden-brown color, not just translucency. This process develops complex sugars and umami compounds, laying a robust flavor foundation. For garlic, cook it gently until fragrant, but watch it like a hawk – burnt garlic is acrid and will ruin your sauce.
My personal rule of thumb: when you think your onions are done, give them another 5 minutes. That extra time allows those deeper, sweeter notes to emerge, which will provide a natural body and sweetness to your sauce that no amount of sugar or thickener can replicate. This is a subtle but powerful shift in technique that changed my sauces from ‘good enough’ to ‘wow.’
Misunderstanding Reduction vs. Thickening: The Two-Step Dance
Many home cooks treat reduction and thickening as the same process, but they are distinct, albeit related, techniques. If your sauce is thin, your first instinct might be to add a cornstarch slurry or a roux. While these are valid thickening agents, relying solely on them without proper reduction often leads to a sauce that has body but lacks concentrated flavor. This is why some ‘thick’ sauces still taste watery or insipid.
Reduction is about concentrating flavor through evaporation. It removes excess water, intensifying the natural tastes of your ingredients. This is why simmering a stock for hours yields a rich, flavorful broth, or why a wine reduction is so potent. Before you even think about adding a thickener, ensure your liquid base has reduced sufficiently. For tomato sauces, this means simmering until it thickens naturally and coats the back of a spoon. For pan sauces, it means boiling down wine or broth until it’s noticeably thicker and more flavorful. This process takes time, often 15-30 minutes, sometimes more, depending on the volume.
Once the flavor is concentrated through reduction, then consider thickening if the texture isn’t quite right. Traditional thickeners like a flour or cornstarch slurry add viscosity but can also dull flavor if overused. My preferred method for enriching and thickening without diluting flavor is often a beurre manié (equal parts softened butter and flour kneaded together, then whisked into a simmering sauce) or simply swirling in a knob of cold butter (monté au beurre) at the very end. The cold butter emulsifies into the sauce, adding a luxurious sheen and velvety texture without adding excessive floury taste. This two-step dance – first reduce for flavor, then thicken for texture – is a game-changer for achieving professional-level sauces.
Ignoring Acidity and Fat Balance: The Missing ‘Pop’
Even with perfectly reduced, well-thickened sauces, they can still taste ‘flat’ or ‘heavy’ without proper balance. This often comes down to two crucial, often neglected elements: acidity and fat. Imagine a rich, creamy sauce that feels one-note; a touch of acid can make it sing. Or a bright, zesty sauce that lacks richness; a hint of fat can round it out.
Acidity provides brightness and cuts through richness. It’s the squeeze of lemon over a creamy pasta, the splash of vinegar in a rich stew, or the tomato paste in a long-simmered sauce. Acid awakens the palate and makes other flavors pop. If your sauce feels heavy or bland, even after seasoning, chances are it needs a touch of acid. This could be a squeeze of fresh lemon juice, a splash of wine vinegar, a tablespoon of dry white wine, or even a diced tomato added at the end. Add it gradually, tasting as you go, until the sauce brightens without becoming sour. This is especially vital in fatty or dairy-heavy sauces.
Fat provides mouthfeel, carries flavor, and creates richness. This isn’t just about adding cream. It’s about using good quality olive oil, butter, or rendered fat from meat strategically. Fat helps to emulsify a sauce, creating that silky, cohesive texture that coats the tongue. For example, finishing a pan sauce with a swirl of cold butter (monté au beurre) adds gloss, richness, and helps to bind the sauce without adding a floury taste. The rendered fat from browning chicken thighs? That’s liquid gold for starting a pan sauce. Balancing these two elements is an art. Too much fat without acid can be cloying; too much acid without fat can be harsh. In my kitchen, I’ve found that a final drizzle of high-quality extra virgin olive oil or a small pat of butter at the very end can transform a good sauce into an exceptional one, adding both flavor complexity and a luxurious finish.
Frequently Asked Questions
Q1: My tomato sauce is always watery. What’s the main reason and how can I fix it?
A1: The most common reason is not reducing the sauce enough. Tomatoes release a lot of water. You need to simmer it gently uncovered for a prolonged period (often 45-90 minutes or more, depending on volume and desired consistency) until the excess water evaporates, and the sauce thickens naturally. Using good quality canned tomatoes (like San Marzano) and adding a tablespoon of tomato paste, cooked down deeply with your aromatics, also helps immensely in building body and rich flavor.
Q2: Is it always necessary to deglaze the pan? What if I don’t have wine?
A2: Deglazing is highly recommended because it captures all those flavorful browned bits (fond) from the bottom of the pan, which are concentrated pockets of umami. If you don’t have wine, you can use chicken or vegetable broth, or even a splash of water, apple cider vinegar, or balsamic vinegar. The key is to add a cold liquid to a hot pan to release the fond, then scrape it up with a wooden spoon and allow it to reduce.
Q3: How can I thicken a sauce without using flour or cornstarch for a gluten-free option?
A3: There are several excellent gluten-free thickening methods. Reduction is always primary for flavor concentration. You can also purée some of the cooked vegetables from the sauce (e.g., roasted red peppers, cooked onions) into it, or add a tablespoon of potato flakes. For creamy sauces, whisking in a little full-fat Greek yogurt, cream cheese, or a cashew cream (soaked cashews blended with water) can add richness and body. Finishing with a swirl of cold butter is also naturally gluten-free.
Q4: My pan sauces often separate and look greasy. What am I doing wrong?
A4: This usually happens due to a lack of proper emulsification or an imbalance of fat and liquid. Ensure you’re whisking vigorously when adding butter or other fats to your reduction. Adding cold butter slowly, piece by piece, while whisking over low heat, helps it emulsify. Also, an adequate level of acidity (wine, vinegar, lemon juice) helps bind the sauce and prevent separation. Too much heat after emulsifying can also cause it to break; keep it warm but avoid a rolling boil once fats are incorporated.
Q5: How do I get that rich, glossy finish on my sauces like in restaurants?
A5: The glossy finish often comes from a combination of proper reduction, a good emulsification of fat, and finishing touches. Reducing the sauce concentrates natural sugars and fats, making it naturally shinier. Finishing with a swirl of cold butter (monté au beurre) is a classic technique that adds incredible sheen and velvety mouthfeel without making it greasy. A final whisk right before serving helps to incorporate air and further emulsify the sauce, enhancing its glossy appearance.
Written by Dr. Anya Sharma
Nutrition science, meal planning, dietary habits
A registered dietitian with a PhD in Nutritional Sciences, Anya focuses on sustainable eating habits and evidence-based dietary advice.
You Might Also Like

Why Your Home Garden Isn't Thriving (And The Simple Shifts That Changed Everything For My Harvests)
Struggling with a lackluster home garden? Discover the counter-intuitive shifts in soil, watering, and plant choice that transformed my harvests.
Why Your Homemade Cookies Are Flat (And The Simple Fixes That Guarantee Perfect, Puffy Results Every Time)
Tired of flat, lifeless cookies? Discover the overlooked mistakes that flatten your treats and learn simple fixes for perfect, puffy cookies every time.

Why Your Homemade Pizza Crust Isn't Crispy (And The Pro Secrets That Deliver Pizzeria-Quality Crunch Every Time)
Unlock pizzeria-quality crispy pizza crust at home. Discover common mistakes and pro secrets for perfect crunch every time, by Dr. Anya Sharma.